
16 October 2026 · Patios and Paths
How to clean a patio grout line properly
Dirty, blackened grout lines are one of the most common complaints we hear from homeowners across Lincolnshire. You can have beautiful paving — Indian sandstone, porcelain, concrete slabs — and the whole thing still looks neglected because the joints are filled with moss, algae and years of grime. Knowing how to clean a patio grout line properly makes an enormous difference to the finished result, and it's something we deal with on almost every job we take on.
The short answer: a combination of the right cleaning product, a stiff brush, careful pressure washing and good aftercare will clear most grout lines completely. Here's how it works in practice.
Why patio grout lines get so dirty
Grout joints sit slightly lower than the slab surface, which means water pools in them rather than running off. That moisture, combined with organic debris — leaves, soil, pollen — creates the perfect environment for moss, algae and black lichen to take hold. North-facing patios and those shaded by fences or trees are the worst affected, but even a sun-drenched patio in Cherry Willingham or Nettleham will start to show dirty joints within a season or two.
The black or dark-green colouring you see is usually a combination of algae, mould and airborne pollution. It's not just unsightly — it can eventually break down the integrity of the jointing material if left long enough.
What you'll need before you start
Getting the right tools together before you begin saves a lot of frustration:
- A stiff-bristled brush — a handheld grout brush or a long-handled deck scrubbing brush
- A biological or algaecidal patio cleaner — diluted to the manufacturer's instructions
- A pressure washer with a rotary or pencil-jet nozzle — used carefully on low to medium pressure
- A garden hose for rinsing
- Safety gloves and eye protection
Avoid bleach-based products on natural stone — they can cause staining and discolouration. For porcelain or concrete, a diluted bleach solution can work on stubborn black spots, but always test a small area first.
Step-by-step: cleaning your patio grout lines
1. Apply your cleaning solution
Mix your patio cleaner as directed and apply it generously along all the grout joints. Let it dwell for at least 15–20 minutes — longer if the moss is thick. This gives the active ingredients time to break down the organic growth at the root rather than just lifting the surface layer.
2. Agitate with a stiff brush
Get down and scrub. This is the part most people skip when they go straight for the pressure washer, and it's why results can disappoint. Working the cleaner into the joints loosens compacted dirt and dead growth. For long straight runs, a stiff-bristled broom saves your back.
3. Use the pressure washer — carefully
This is where experience really matters. Too much pressure and you'll blast out the jointing material, leaving gaps that allow weeds to establish and water to get underneath the slabs. We typically use a fan or rotary nozzle rather than a pencil jet, keeping the lance at least 20–30 cm from the surface and working along the joints rather than across them.
If you're hiring a professional, this is the kind of judgement call that comes from doing the job regularly — we've seen plenty of patios in Washingborough and Branston where a previous DIY clean has left joints looking like trenches.
4. Rinse and assess
Flush the entire area with clean water. Once it dries you'll have a much clearer picture of what you're dealing with. Some joints will come up brilliant; others — particularly where lichen has been growing for years — may need a second treatment.
When the grout itself is the problem
Sometimes cleaning only gets you so far. If the original jointing mortar has crumbled, cracked or washed out in places, no amount of cleaning will make it look right. In those cases, the right move is to regrout after cleaning — using a flexible, polymer-modified jointing compound that handles movement and weather better than traditional sand-cement mixes.
This is a job we carry out regularly alongside our cleaning work — see our full range of outdoor surface services for more detail on what we cover.
Keeping grout lines clean for longer
Once the hard work is done, a few simple habits help maintain the result:
- Seal the joints with a suitable jointing sand or sealant — this reduces water ingress and makes future cleaning much easier
- Treat annually with a diluted algaecidal solution in autumn before the wet season takes hold
- Clear leaves promptly — decomposing leaf matter is a major source of the organic material that feeds moss and algae
- Improve drainage if water consistently pools on the patio surface — this is a longer-term fix but makes a real difference
For more advice on keeping your patio in good shape through the seasons, our patio cleaning topic hub has plenty of useful guides.
Should you do it yourself or call a professional?
For a small, lightly soiled patio, DIY is perfectly reasonable if you have the right equipment and take care with pressure settings. For larger areas, heavily stained joints, natural stone, or anywhere the existing grout is fragile, it's worth getting a professional in. Getting it wrong can mean damaged joints, blasted-out sand or even cracked slabs — repairs that cost far more than a clean.
We work across Lincolnshire — from Lincoln city centre out to villages like Heighington, Saxilby and Welton — and we bring the correct kit for each surface type, so you get a thorough result without any collateral damage.
Ready for clean, fresh-looking grout lines?
If your patio joints are black, mossy or just beyond what a garden brush can tackle, we'd be happy to take a look. Get in touch through our quote request form and we'll come out to assess the job — no obligation, just honest advice from a local team who knows Lincolnshire's outdoor surfaces inside out.
Check our service areas to confirm we cover your part of the county.
Frequently asked questions
Can I clean patio grout lines with a pressure washer alone?
A pressure washer helps, but it works best after you've applied a cleaning solution and scrubbed the joints with a stiff brush first. Using the pressure washer on its own often just pushes the dirt around without fully clearing the organic growth. Too much pressure can also blast out the jointing material, so care with the nozzle and distance is essential.
Why do my patio grout lines go black so quickly after cleaning?
Black re-growth is nearly always algae or mould returning from spores left behind in the joint. Applying an algaecidal treatment after cleaning and sealing the joints helps slow regrowth significantly. An annual maintenance clean in autumn also makes a big difference.
Is it safe to use bleach on patio grout lines?
Diluted bleach can be effective on concrete or porcelain paving, but it should never be used on natural stone such as sandstone, limestone or Indian sandstone as it can cause irreversible staining. Always test any product on a small, hidden area first and follow the manufacturer's dilution guidelines.
How often should I clean the grout lines on my patio?
For most patios in Lincolnshire, a thorough clean once a year — ideally in spring or early autumn — is enough to keep on top of moss and algae. Shaded or north-facing patios may benefit from a second lighter treatment mid-season.
Need a hand with yours? We cover Lincolnshire for patios, driveways, paths and more — see the areas we cover or browse our services. Get a free quote or call 07874 010739.
Keep reading
More on patio cleaning
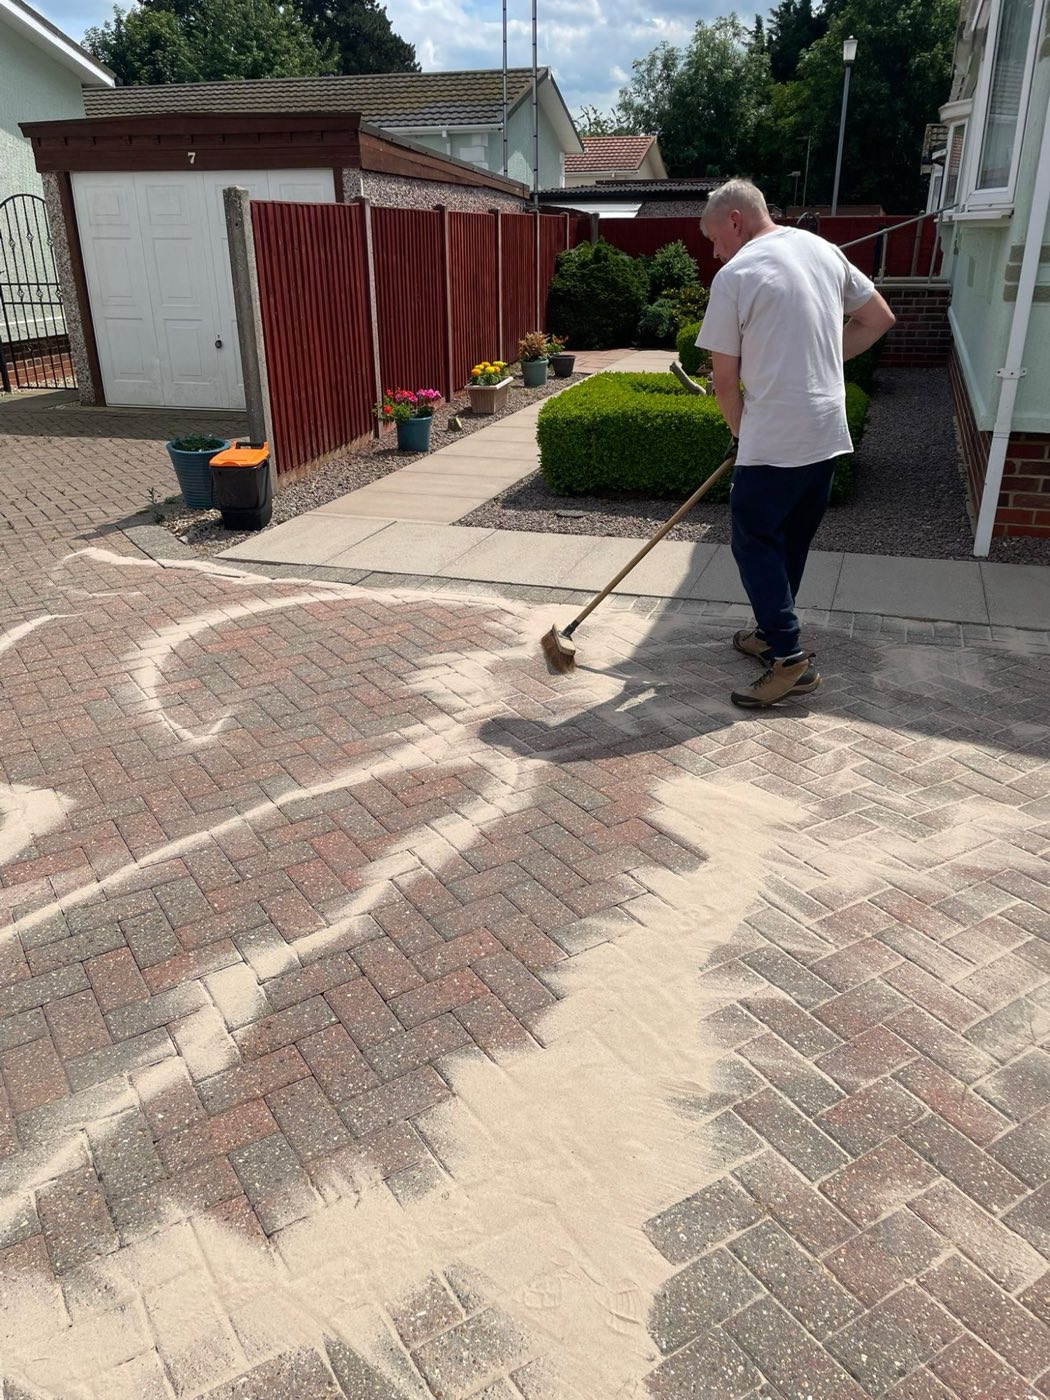
How to clean a concrete path without streaks
Streaky concrete paths are usually caused by the wrong pressure-washing technique — here's how to get an even, clean finish every time.
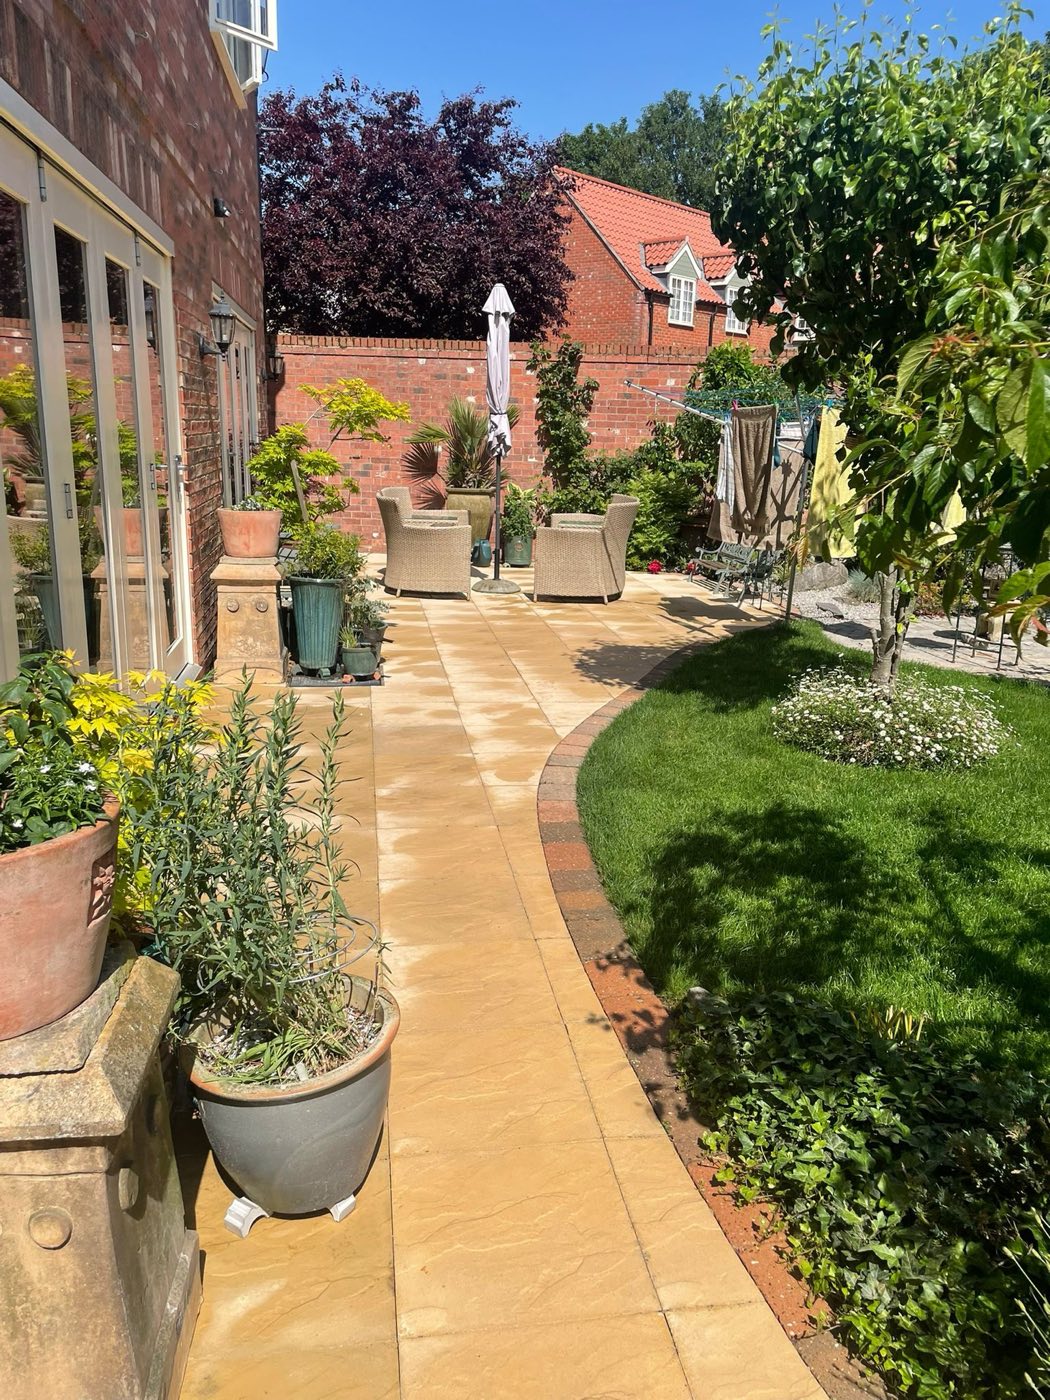
How to clean a shaded patio that stays damp
A permanently damp, shaded patio is the hardest surface to keep clean — here's what actually shifts the green and keeps it away longer.
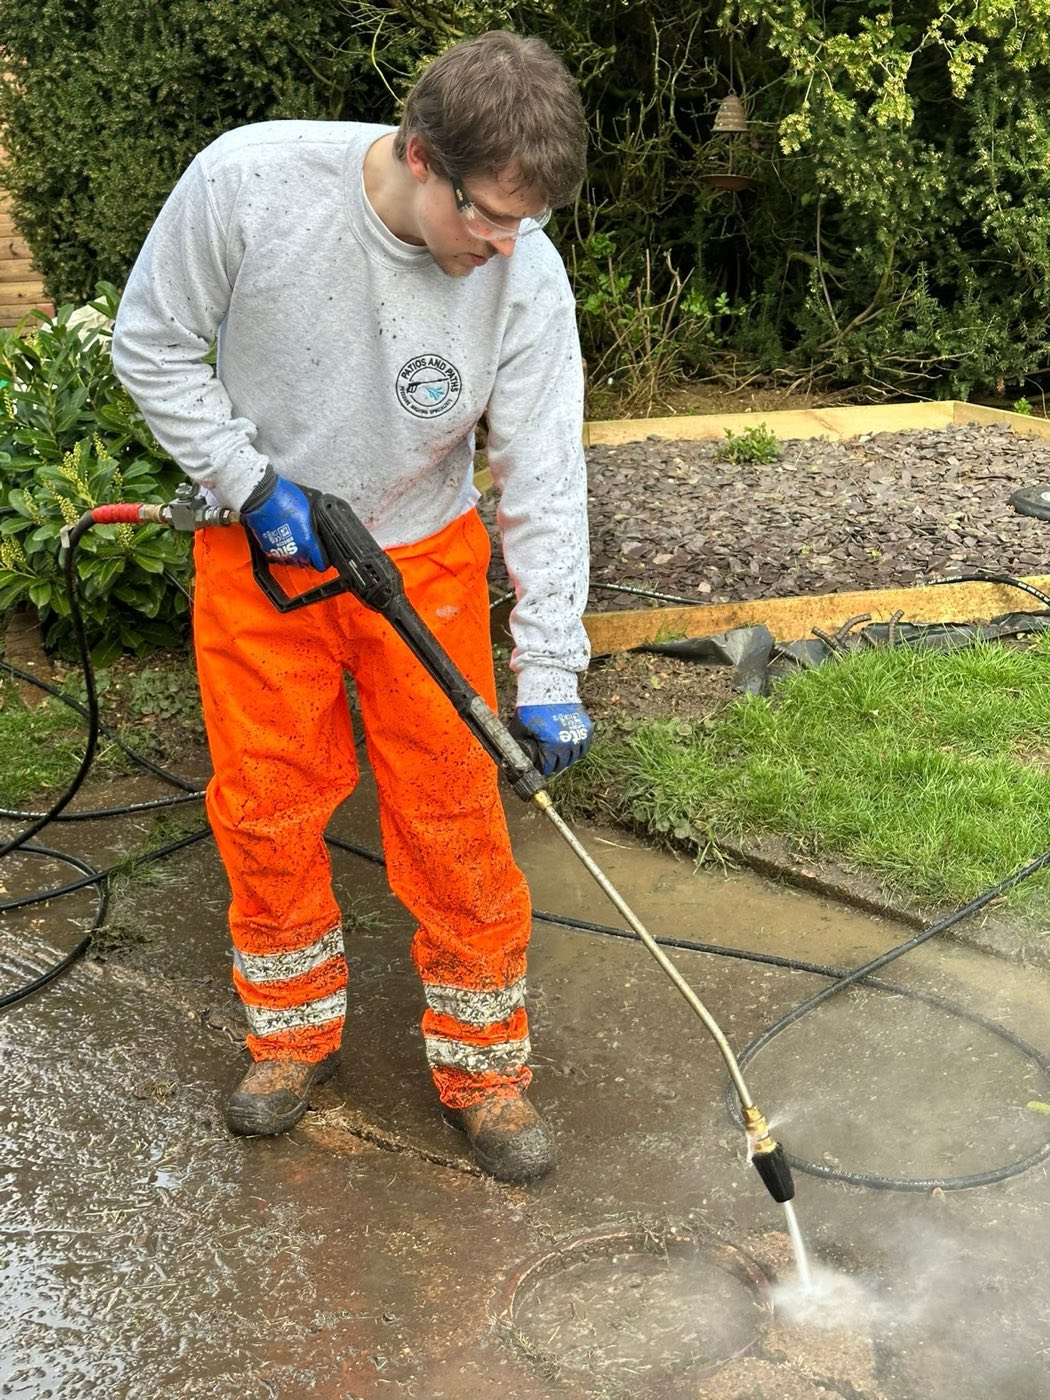
How to clean a patio with a pressure washer safely
Pressure washing a patio is satisfying — but the wrong settings or technique can cause real damage. Here's how to do it properly.