7 August 2026 · Patios and Paths
How to clean a patio before sealing it properly
Sealing a patio is a great way to protect the surface and keep it looking good for years. But if you seal over a dirty, mossy or stained patio, you're locking all that grime in — and the sealer won't bond properly either. Knowing how to clean a patio before sealing is every bit as important as choosing the right sealer. Get the prep wrong and you'll be peeling it off within a season.
This guide walks you through exactly what needs doing, in the right order, whether you're tackling it yourself or thinking about getting a professional in.
Why cleaning first matters so much
Sealers work by penetrating the surface or forming a protective film on top. Either way, they need clean, open pores to grip onto. Dirt, algae, moss and old sealer residue all act as barriers. Even a faint green tinge — barely visible to the eye — can stop a sealer from curing properly and leave you with a patchy, flaking finish.
The same applies whether you're sealing natural stone like Indian sandstone, concrete slabs, porcelain or block paving. Each material has its own quirks, but the principle is the same: the surface must be genuinely clean and fully dry before anything goes on top.
Step 1: Clear and sweep the patio
Start by removing all furniture, pots and anything else on the surface. Then sweep off loose debris — leaves, grit, soil from any borders. It sounds obvious, but people often skip this and then wonder why their cleaning solution isn't getting to the actual surface.
Check the joints too. If you have block paving or natural stone, clear any weeds or loose moss from between the joints with a stiff hand brush or a jointing tool. These will get in the way later.
Step 2: Apply a treatment for moss, algae and black spot
If you have green algae, moss or black spot (that dark, almost tarry staining common on sandstone and limestone), apply a suitable biocide or patio cleaner before you reach for the pressure washer.
- Algae and moss: a diluted sodium hypochlorite solution or a proprietary algaecide works well. Apply, leave it to dwell for 20–30 minutes, and you'll find the growth lifts far more easily.
- Black spot: this is a stubborn fungal growth that needs a dedicated black spot remover or a stronger dwell time. Don't expect a pressure washer alone to shift it.
- Oil or rust stains: treat these separately with a targeted stain remover before the main clean. Pressure washing over an oil stain just spreads it.
Always check the product is suitable for your patio material. Some acid-based cleaners are fine on concrete but will damage Indian sandstone or limestone. If you're unsure, our patio cleaning services cover all surface types.
Step 3: Pressure wash thoroughly
Once your treatment has had time to work, pressure wash the entire surface. Use a wide-angle fan nozzle rather than a pencil jet — high-pressure narrow jets can damage softer stones and erode the jointing sand in block paving.
Work methodically in overlapping passes, keeping the lance at a consistent distance from the surface (usually 20–30 cm). Don't rush this part. You want to lift every bit of loosened moss, algae and dirt, not just move it around.
Pressure washing tips by surface type
- Concrete and block paving: can handle higher pressure; a surface cleaner attachment gives an even result
- Natural stone (sandstone, limestone, slate): lower pressure, wider angle — these surfaces are more porous and easier to scar
- Porcelain: low-to-medium pressure; porcelain is tough but grout lines can be damaged by excess pressure
- Decking: always go with the grain at low pressure — high pressure across the grain will raise the fibres
We work across Lincolnshire and regularly clean patios in Nettleham, Welton, Heighington and Branston — the mild but damp climate here means algae and moss grow back fast, so a thorough first clean is essential before sealing.
Step 4: Rinse and inspect
After pressure washing, give the whole patio a thorough rinse with clean water. Then stand back and inspect it properly in daylight — ideally on a bright day. Look for:
- Any staining that needs a second treatment
- Joints that have been washed out and need re-sanding (block paving especially)
- Damaged or sunken slabs that might be better repaired before sealing
- Any residue from cleaning products that hasn't fully rinsed away
Don't rush to seal at this point. The surface needs to be completely dry — and that usually means waiting at least 48–72 hours of dry weather, depending on the material. Applying sealer to a damp surface is one of the most common reasons it fails.
Step 5: Re-sand joints if needed (block paving)
If you have block paving, pressure washing often clears out the kiln-dried sand from the joints. Before sealing, brush in fresh jointing sand and compact it. Some sealers also lock this sand in place, which helps prevent weeds — but only if the joints are properly filled first.
When to call in a professional
For most people, steps 1 and 2 are manageable as a DIY job. The pressure washing is where it gets harder — hiring a machine is one thing, but using it correctly on the right settings without damaging your patio takes practice.
If you're sealing an expensive natural stone patio, or the surface is heavily stained with black spot or lichen, it's usually worth getting a professional clean done first. The sealer itself isn't cheap, and a poor preparation job wastes it entirely.
We cover the whole of Lincolnshire — have a look at our areas we serve to see if we're near you. If you'd like us to clean and prepare your patio before sealing, get a free quote today. We'll leave the surface in the best possible condition for whatever sealer you're planning to use.
A final word on timing
Spring and early summer are ideal for cleaning before sealing — the surface gets a chance to dry fully before the autumn damp sets in again. Late summer works too. Avoid sealing in winter or when frost is forecast; most sealers need temperatures above 5°C to cure properly.
Frequently asked questions
How long should I wait after pressure washing before sealing a patio?
Most sealers require the surface to be completely dry, which typically means waiting 48–72 hours of dry weather after pressure washing. Some thicker natural stones like sandstone hold moisture longer, so 3–5 days is safer in damp conditions.
Can I seal a patio without pressure washing it first?
You can, but you shouldn't — any dirt, algae or staining left on the surface will be sealed in, and the sealer won't bond properly. Cleaning first is essential for the sealer to last.
Do I need to remove old sealer before applying a new coat?
It depends on the type of sealer and the condition of the existing coat. If the old sealer is flaking or discoloured, it should be stripped first. If it's still in reasonable condition, a compatible top coat can sometimes be applied over the top — check with your sealer manufacturer.
How do I know if my patio is dry enough to seal?
A simple test is to lay a piece of plastic sheeting flat on the surface and leave it for an hour. If moisture collects underneath, the patio isn't dry enough yet. On porous stones, the surface may look dry but still hold moisture deeper down.
Need a hand with yours? We cover Lincolnshire for patios, driveways, paths and more — see the areas we cover or browse our services. Get a free quote or call 07874 010739.
Keep reading
More on patio cleaning
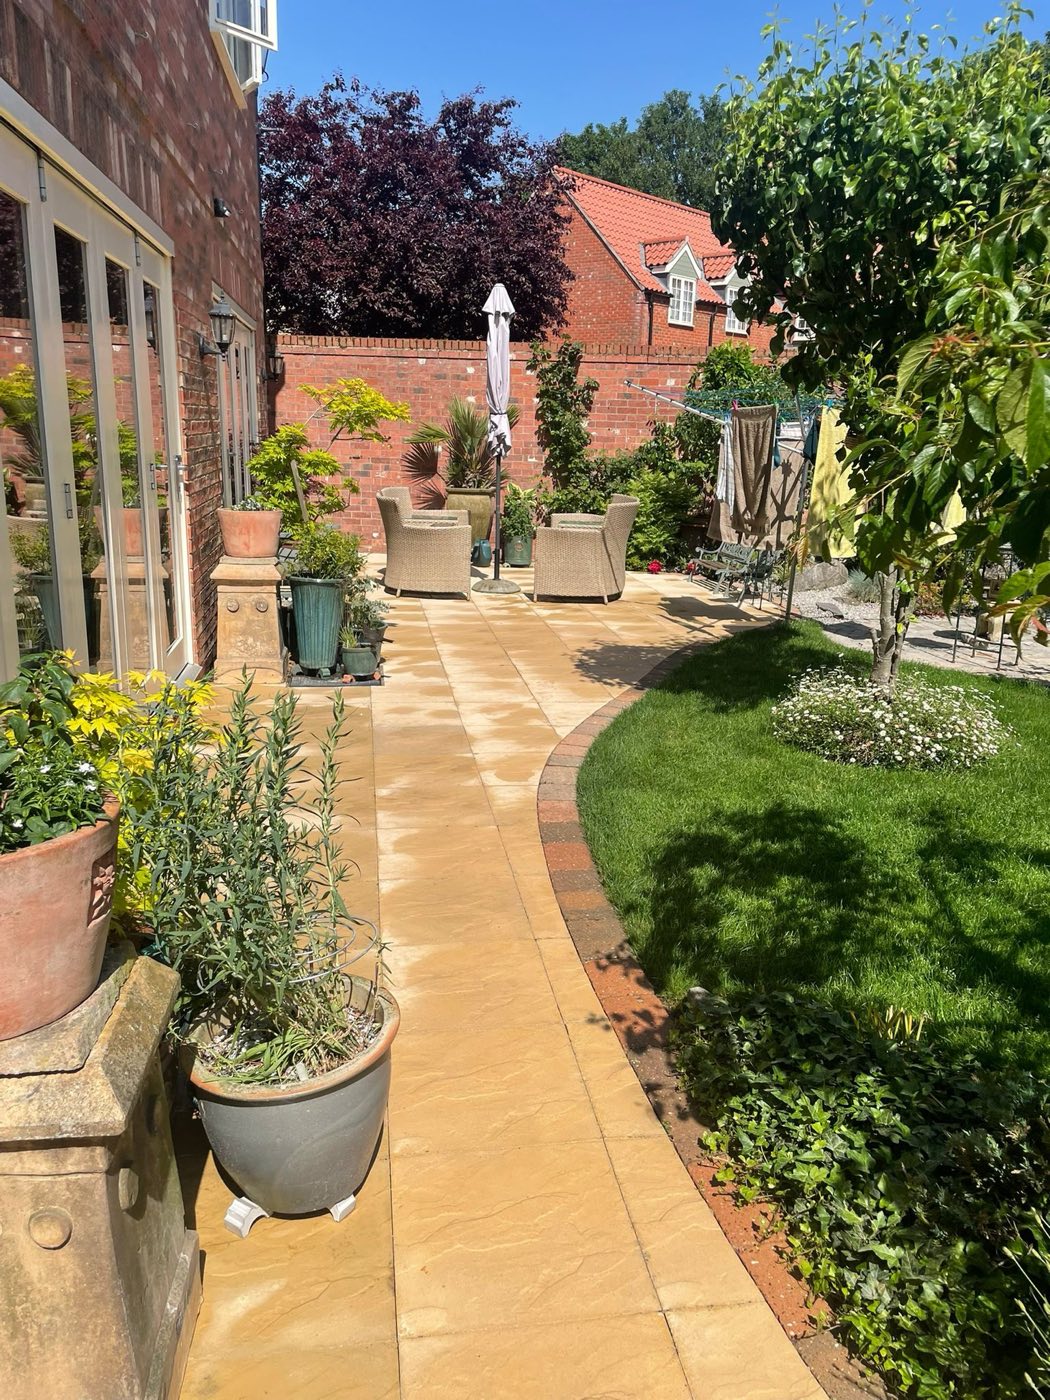
How to clean a shaded patio that stays damp
A permanently damp, shaded patio is the hardest surface to keep clean — here's what actually shifts the green and keeps it away longer.
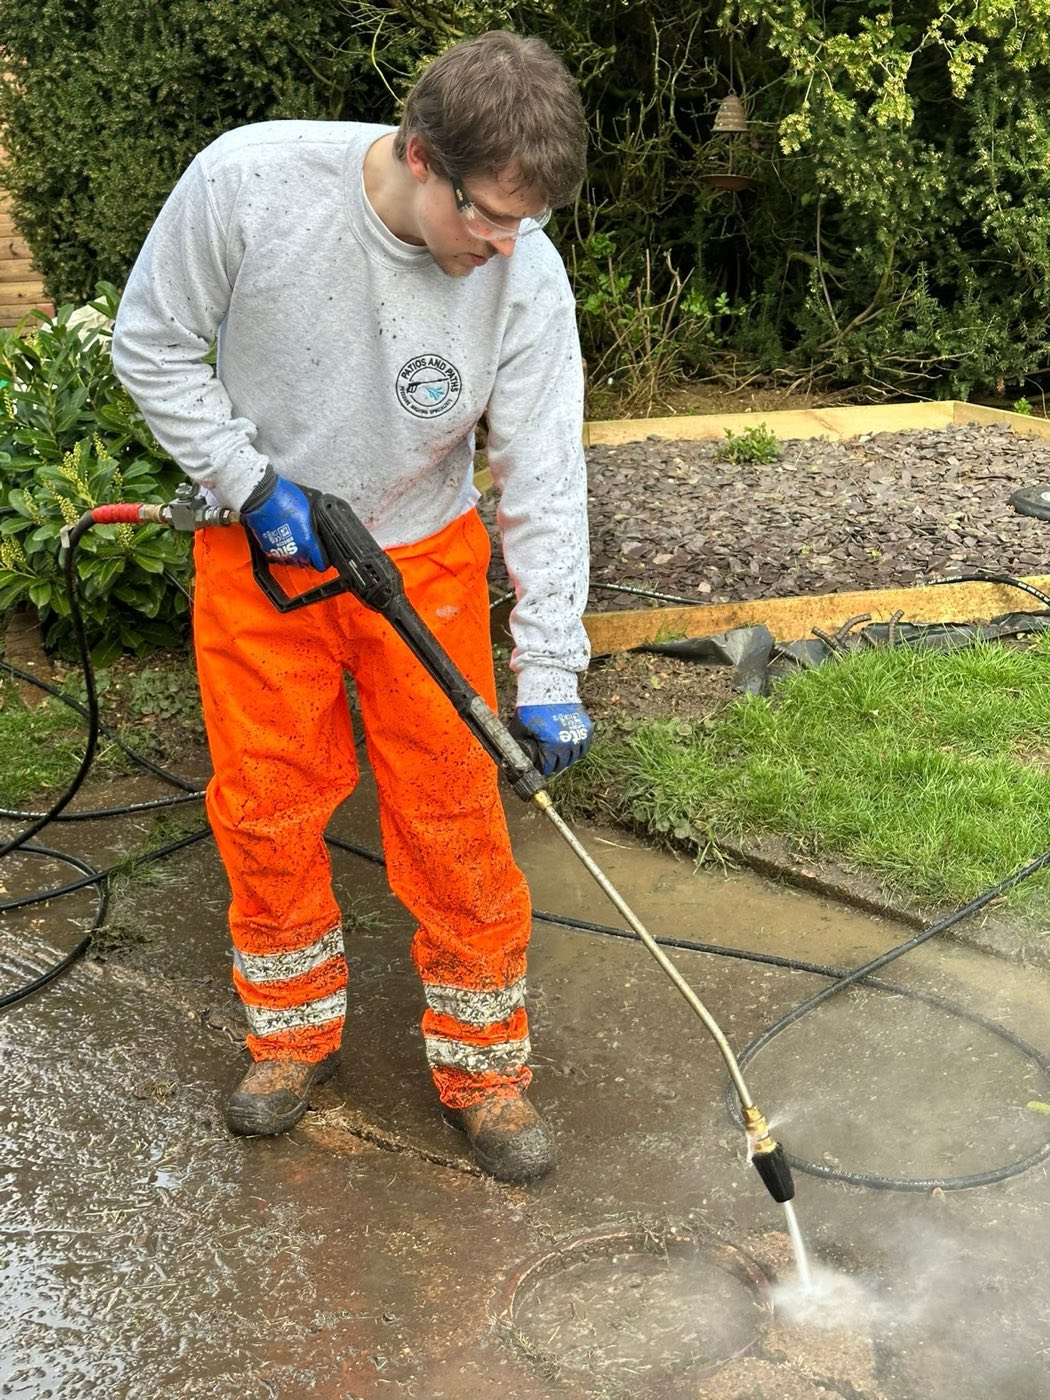
How to clean a patio with a pressure washer safely
Pressure washing a patio is satisfying — but the wrong settings or technique can cause real damage. Here's how to do it properly.
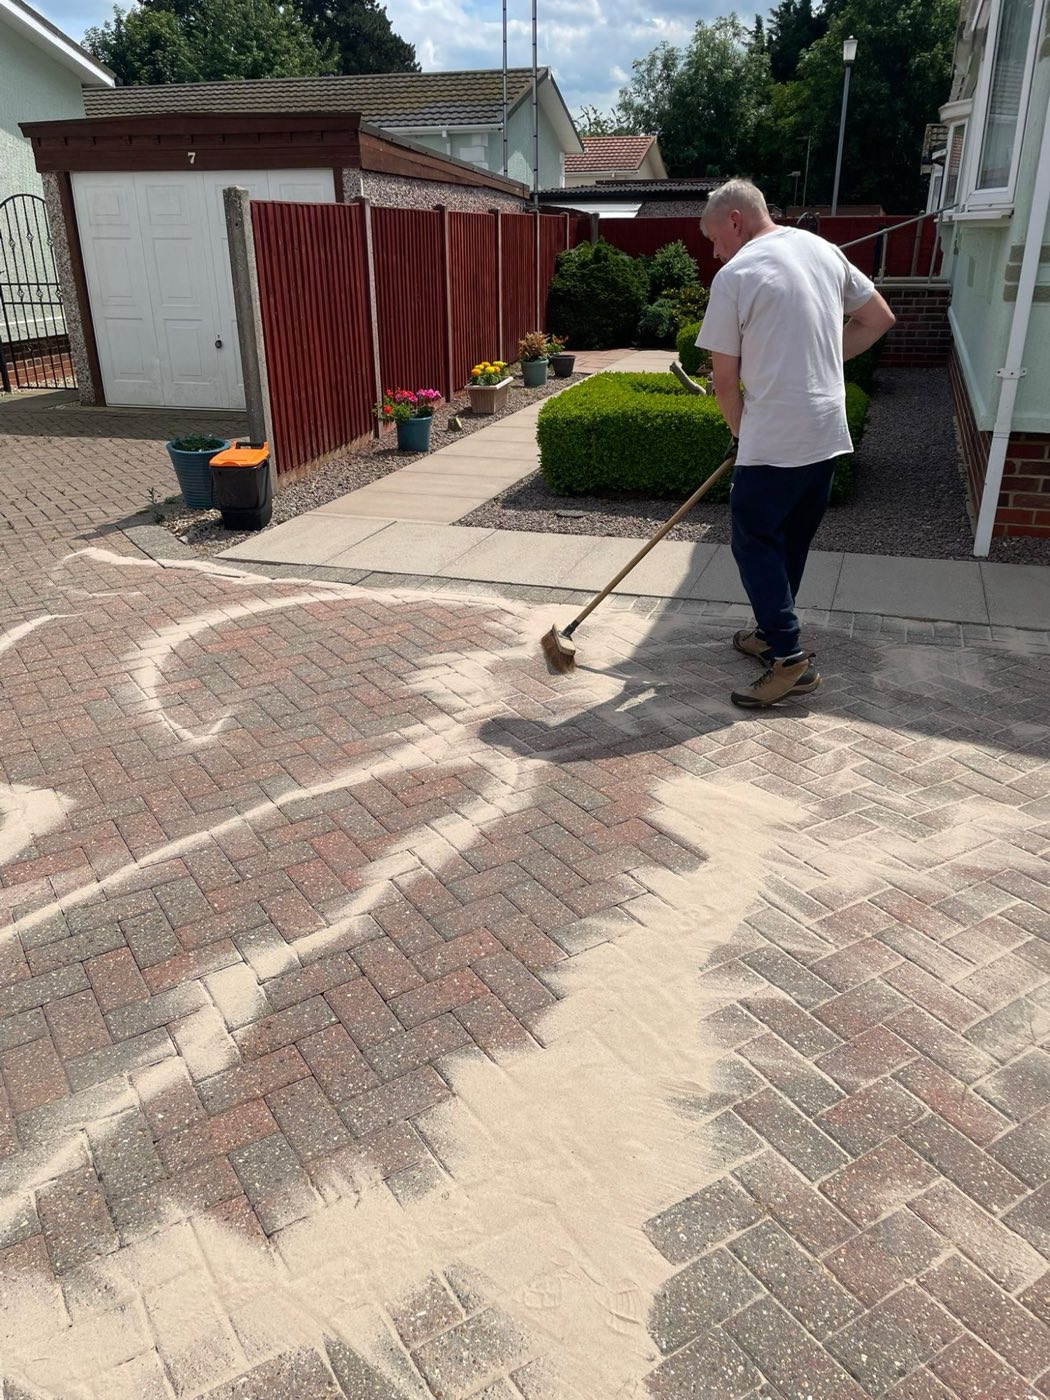
How to clean a wet pour rubber path properly
Wet pour rubber paths are low-maintenance — but they do get dirty, mossy and slippery. Here's how to clean them safely without causing damage.